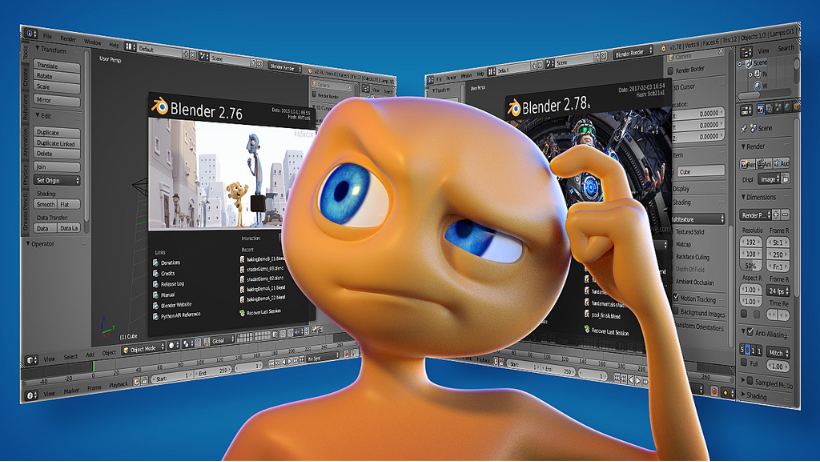
Blender is one of the most powerful open-source 3D creation tools available today. However, even experienced users can fall into habits that limit their workflow, slow down performance, or result in lower-quality renders.
In this article, we’ll walk through 10 common mistakes Blender artists make—and more importantly, how to avoid or fix them. Whether you’re modeling, lighting, animating, or rendering, this guide will help you improve both your efficiency and final output.

1. Ignoring Clean Topology
- The mistake: Many artists begin modeling without considering edge flow or geometry structure, which results in shading issues or deformation problems.
- The fix: To avoid this, build using quad-based topology and utilize Blender’s mesh cleanup tools under Mesh > Clean Up. Furthermore, studying proper topology flow will save hours during later stages like rigging and sculpting.
2. Overusing Subdivision Too Early
- The mistake: Some users immediately apply high subdivision modifiers, which slows down the viewport and complicates editing.
- The fix: Instead, work in low-poly mode during modeling. Add subdivisions only when your base shape is complete. This not only improves performance but also reduces unnecessary complexity early on.
3. Poor Scene Organization
- The mistake: A cluttered scene with unnamed objects in a single collection makes editing difficult, especially in larger projects.
- The fix: Therefore, it’s essential to use Blender’s Collection system effectively. Label objects clearly, group them logically, and structure your Outliner for quick navigation.
4. Low-Quality Texture Usage
- The mistake: Using low-resolution or incorrectly mapped textures often leads to blurred or unrealistic surfaces.
- The fix: Always ensure your models are properly unwrapped. Moreover, take advantage of Blender’s Shader Editor to apply normal, roughness, and specular maps to enhance realism without increasing geometry.
5. Ineffective Lighting Setup
- The mistake: Default lighting or poorly placed point lights can make your scene look flat or artificial.
- The fix: Instead of relying on defaults, start with HDRI lighting for ambient realism. Combine it with soft area lights or a three-point lighting setup to introduce dimension and mood.
6. Rendering Without Testing
- The mistake: Rendering high-resolution final frames without testing can waste hours—and lead to avoidable mistakes.
- The fix: Always run test renders at lower resolutions. Additionally, use Blender’s denoising options to detect lighting or shadow issues early and optimize your sample count for efficiency.
7. Failing to Version Files
- The mistake: Continuously saving over the same file makes it impossible to roll back to previous stages.
- The fix: To prevent data loss, adopt a versioning system such as
project_v01.blend,project_v02.blend, etc. Moreover, enable “Save Versions” in Blender’s preferences for added safety.
8. Not Applying Scale and Rotation
- The mistake: Unapplied transformations cause misbehavior in modifiers, constraints, and rigging.
- The fix: Therefore, before exporting, animating, or simulating, press
Ctrl + Aand apply both rotation and scale. This ensures predictable behavior across all systems.
9. Relying on Add-ons Without Mastery
- The mistake: Installing too many add-ons without understanding them can clutter the UI and reduce productivity.
- The fix: Rather than using everything at once, focus on learning one powerful add-on at a time—such as Node Wrangler or Asset Manager. Over time, your toolset will become an extension of your workflow rather than a distraction.
10. Rendering Heavy Scenes on a Personal Machine
- The mistake: Attempting to render complex animations or 4K images locally can crash your system or miss tight deadlines.
- The fix: Instead of overloading your machine, consider rendering your project with a Blender Render Farm. Not only does it save time, but it also ensures consistency, scalability, and professional-grade output.
>>> Read more: Streamline Your Workflow with Cloud Batch Rendering
Optimize Your Workflow with 3S Cloud – A Professional Blender Render Farm
For artists working on high-resolution visuals or time-sensitive projects, a Blender Render Farm like 3S Cloud offers a smarter rendering solution. Built specifically to support Blender, 3S Cloud provides:
- Direct compatibility with Cycles and Eevee
- Pay-as-you-go GPU/CPU rendering at scale
- Intuitive project management with live progress tracking
- Reliable uptime and enterprise-level security
Instead of struggling with slow local performance, let 3S Cloud help you deliver results faster and more reliably. Whether you’re rendering a product demo, an animation, or a portfolio piece, cloud rendering keeps your creativity moving forward.
Visit 3sfarm.com to explore features or get started on your next render today.
