Hey there, fellow animators! Have you ever experienced a painfully slow render process while working on a project in Maya render animation? It can be such a frustrating feeling, watching your computer chug away for hours on end while you’re stuck twiddling your thumbs.
Well, fear not! Today, we’re going to go over some tips and tricks to help you optimize your render speed and make the most of your time and resources. We’ll cover everything from setting up your scene to troubleshooting common problems, so you can spend less time waiting for renders and more time creating.
So, let’s dive in!
Step-by-Step Guide to Render Animation in Maya
Setting up the Scene
Creating the Animation
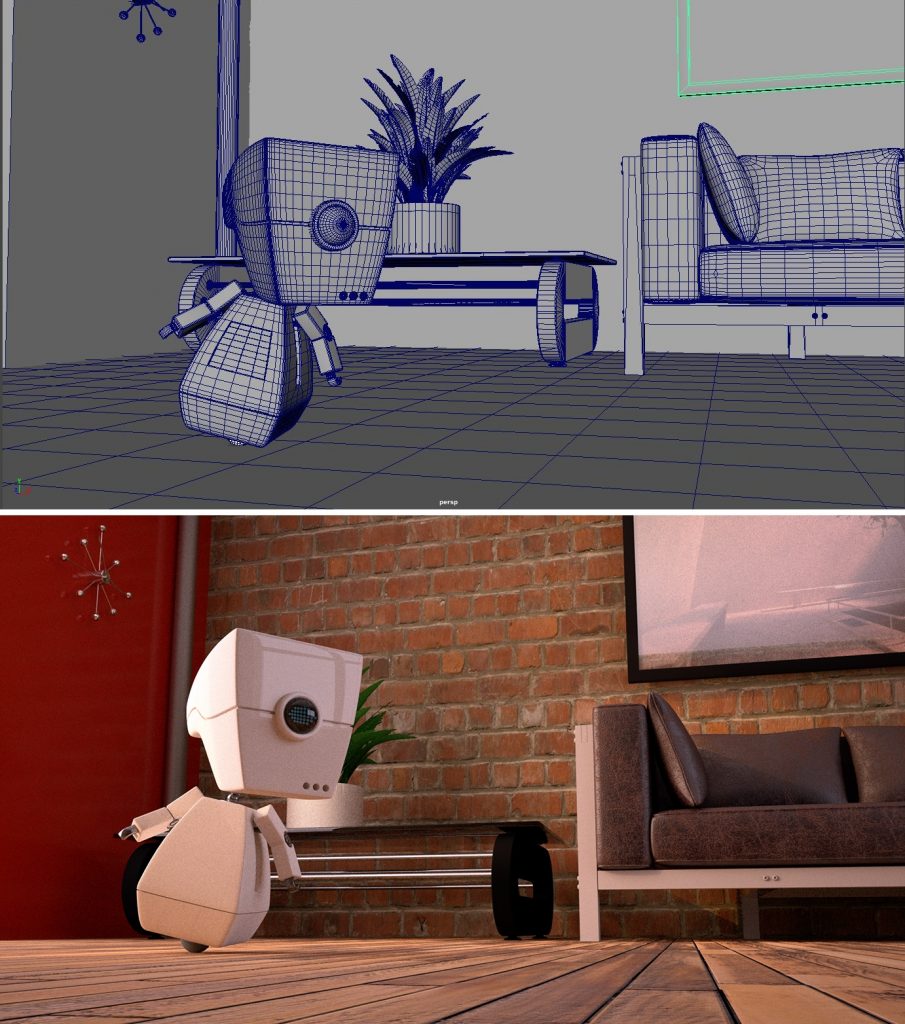
The first step in rendering an animation in Maya is to create the animation itself. This involves using the various tools in Maya to create the desired movement and actions of the objects in your scene. Whether it’s a simple walk cycle or a complex action sequence, it’s essential to have a well-designed and well-executed animation before moving on to the next step.
Assigning Materials and Lighting
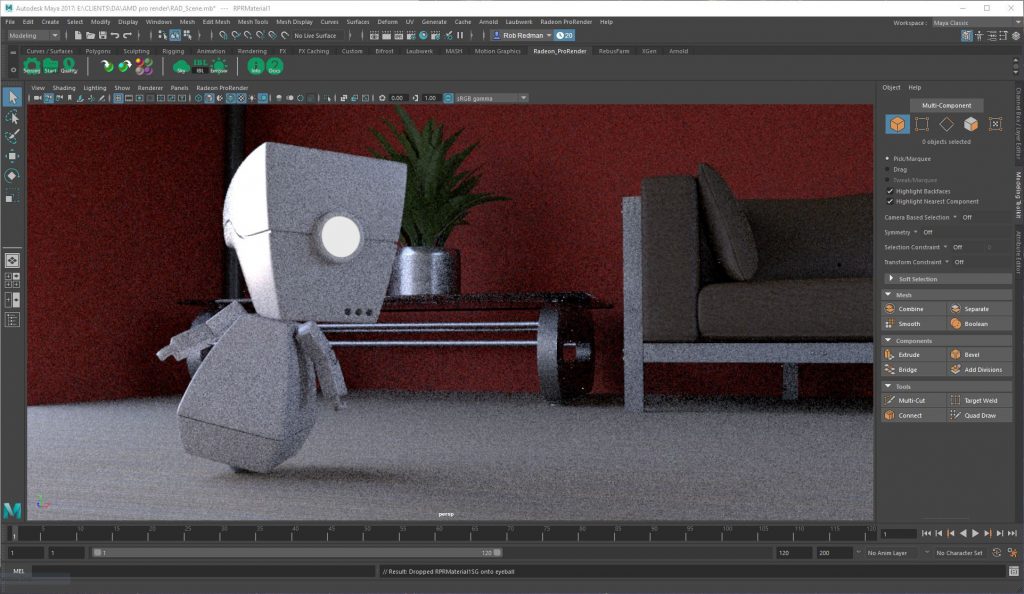
Once the animation is complete, the next step is to assign materials and lighting to your scene. This involves choosing the appropriate materials for each object and assigning them to the Material Editor. You should also consider the lighting of your scene, including the placement and properties of lights, to ensure that your final render will look as good as possible.
Rendering the Animation
Choosing the Renderer
In Maya, you have the option to choose from several renderers to render your animation. For this guide, we will focus on using the Arnold renderer, as it is widely used in the animation and VFX industry for its high-quality output and versatility.
Setting the Render Settings
Once you’ve selected your renderer, the next step is to set the render settings. This involves choosing the appropriate resolution, frame rate, and other settings that will determine the quality and final size of your render. It’s essential to strike a balance between render time and final quality to ensure that you’re getting the best results in the shortest time possible.
Starting the Render Process
With your scene set up and your render settings configured, it’s time to start the render process. This involves hitting the render button and allowing the renderer to work its magic. Depending on the complexity of your scene and the length of your animation, this process can take anywhere from a few minutes to several hours to complete.
Saving the Animation
Format Options
Once the render process is complete, it’s time to save your final animation. In Maya, you have several format options to choose from, including QuickTime, AVI, and MP4. The format you choose will depend on the intended use of your animation, so it’s essential to consider your options carefully.
File Saving and Exporting
After selecting the format, you can then proceed to save and export your animation. This involves specifying the file name, location, and other export options, such as compression settings. It’s essential to choose a file format and compression settings that will provide the highest quality while keeping the file size manageable.
Tips for Optimizing Render Time
Decreasing render time
While use Maya rendering animation can be a lot of fun, it can also be time-consuming. Here are some tips for optimizing your render time:
- Minimize the use of heavy materials. This can help reduce the time it takes to render your animation.
- Balance quality and render time. If you’re looking for the best results, you may need to sacrifice some quality for render time.
- Make use of the Maya Cloud Rendering. This can help you save time and money by allowing you to render your animation on a powerful remote server.
Troubleshooting Common Render Problems
While rendering an animation in Maya can be a lot of fun, it can also be challenging. Here are some tips for troubleshooting common render problems:
- Fix lighting issues. If your animation is looking too dark or too bright, make sure your lighting is set up correctly.
- Deal with problem objects. If you’re having trouble with a specific object in your scene, try removing it or replacing it with a different object.
- Debug render settings. If your render is not coming out the way you expected, try debugging your render settings.
Introduction to 3S Cloud Render Farm
Are you tired of waiting for hours, or even days, for your animation renders to be completed on your computer? 3S Cloud Render Farm is here to help! This cloud-based render farm is dedicated to supporting Autodesk Maya, making it the perfect solution for animators and 3D artists who want to get their work done faster. With powerful hardware and lightning-fast speeds, 3S Cloud Render Farm can handle even the most complex animations with ease. Say goodbye to the frustration and time-consuming waiting, and hello to efficient and seamless rendering with 3S Cloud Render Farm.
In conclusion, rendering an animation in Maya is a complex process that requires a combination of technical skills and artistic expertise. By following the steps outlined in this article and making use of the tips and tricks to optimize render time, you can produce high-quality animations that are sure to impress.