In 3D design, using a Render Farm (a powerful computer system for rendering) is a common solution to save time and boost efficiency. However, optimizing your project before uploading it to a Render Farm is crucial. This article provides useful knowledge to optimize your 3D project, reduce costs, save time, and improve quality.
1. Why Optimize a 3D Project Before Rendering?
Save Time
Rendering requires a lot of hardware resources. If the project is not optimized, render time can be excessively long.
Reduce Costs
Most Render Farms charge based on resource usage time. A lighter project renders faster, lowering costs significantly.
Ensure Stability
Heavy or unoptimized projects can cause errors during rendering, wasting time on fixes.
Improve Quality
Optimization ensures proper management of details, avoiding issues with colors, lighting, or resolution.
2. Steps to Optimize a 3D Project
Clean the 3D Scene
Remove Unnecessary Objects
Check and delete any objects not visible in the frame or unnecessary for rendering.

Check Polygon Count
Reduce polygon counts in 3D models using tools like Decimate in Blender or ProOptimizer in 3ds Max.
Delete History
In software like Maya, deleting model history reduces file size and prevents errors.
Optimize Textures
Reduce Texture File Size
Use textures with resolutions appropriate for your project. For distant objects, avoid using 4K textures.
Convert Texture Format
Use compressed formats like JPEG or PNG instead of TIFF or BMP to reduce file size.
Use Proper UV Mapping
Good UV mapping avoids stretching or overlapping textures, ensuring quality.
Manage Lighting
Use Lights Effectively
Avoid too many complex lights like Area Light or IES Light in large scenes. Consider simpler lighting or environment lights (HDRI).
Enable Sampling
Use sampling features in render engines like Arnold, V-Ray, or Cycles to reduce noise without excessive render times.
Optimize Render Settings

Reduce Sample Count
Avoid using excessively high sample counts. Test with lower values to balance quality and render time.
Enable Adaptive Sampling
This feature adjusts sample levels for specific areas, reducing render time while maintaining quality.
Use Caching
Leverage caching features for effects like Global Illumination or Ambient Occlusion to cut calculation time.
Optimize Project Files
Check Scene Files
Ensure all texture paths, proxies, and references are correct and not missing.
Merge Files
In software like Unreal Engine or Unity, merge smaller files to speed up loading times.
Reduce Animation Keyframes
For animated projects, remove unnecessary keyframes to improve efficiency.
3. Tools for Optimization
Polygon Optimization Tools
- Blender Decimate Modifier
- ProOptimizer in 3ds Max
- ZBrush Decimation Master
Texture Tools
- Adobe Photoshop or Affinity Photo (reduce texture size)
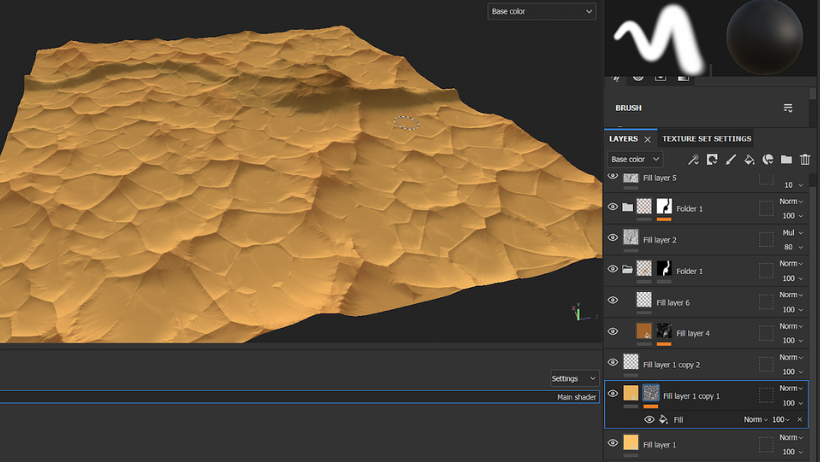
- CrazyBump or Substance Painter (create efficient maps)
Render Tools
- V-Ray Scene Optimizer
- Arnold Stand-ins
- Redshift Proxy
4. Important Notes: Optimizing a 3D project before using a Render Farm
- Always review the project before rendering: Ensure all changes are correct.
- Backup files regularly: Prevent data loss in case of errors.
- Understand the Render Farm’s configuration: Match your project to their technical requirements.
- Use trial runs: If available, test your project on the Render Farm to ensure compatibility.
Conclusion
Optimizing a 3D project before using a Render Farm saves time, reduces costs, and improves final output quality. This article provides essential tips to help you optimize effectively. Remember, a well-planned project works better and reduces risk.
3S Cloud Render Farm offers high-performance servers for rendering and complex graphic tasks. Equipped with 1/2/4/6/8 GPUs (T4, L4, A1
