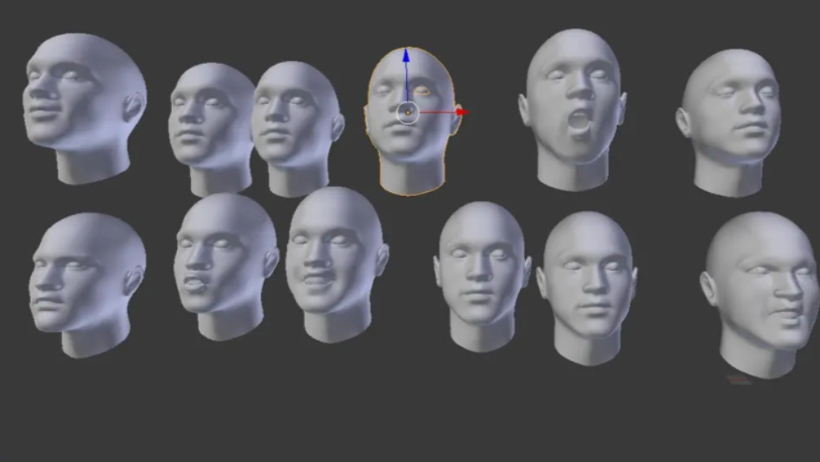
Blender is a powerful and free 3D software. It is used by artists, designers, and animators around the world. One interesting technique you can try in Blender is creating a human face using only simple, colored shapes. This method is artistic, easy to learn, and doesn’t require advanced modeling skills.
In this tutorial, we will show you step-by-step how to design a creative face using basic forms inside Blender.
Why Use Simple Shapes to Create a Face in Blender?
Designing with basic shapes helps you focus on proportions, colors, and layout. It removes the complexity of realistic modeling. You only use shapes like:

- Circles for eyes or cheeks.
- Rectangles or rounded cubes for noses.
- Ovals or custom shapes for the face and mouth.
This approach is widely used in graphic design and modern illustration. It’s also a great Blender exercise to practice object placement, color harmony, and clean compositions.
Blender gives you all the tools to do this:
- You can model shapes quickly.
- You can assign flat colors easily.
- You can render high-quality images with just a few clicks.
>>> Read more: Create Stunning Carton Box Mockups in Blender: A Practical Guide
What You Will Learn in Blender:
- How to break a face into simple shapes.
- How to build and place each shape in Blender.
- How to apply flat colors using Blender’s Shader Editor.
- How to set up lighting and render your final artwork.
Step-by-Step Tutorial in Blender
Step 1: Prepare a Reference Image
Choose a photo or drawing of a face. It should be clear and front-facing. Study the face and imagine which parts can be replaced by simple shapes. Try sketching it first to help with planning.
Tip: Use stylized portraits or cartoons as your reference. They are easier to translate into shapes.
Step 2: Set Up Your Blender Scene
- Open Blender and delete the default cube.
- Add a background plane:
Shift + A> Mesh > Plane. - Set the camera to face the plane:
View > Align View > Align Active Camera to View.
Now you are ready to build your face.
>>> Read more: Non-Photorealistic Rendering (NPR) in Blender: How to Create Stylized Art
Step 3: Add Basic Shapes
Use Shift + A to add meshes:
- UV Sphere or Circle for eyes and cheeks.
- Cube scaled into rectangles for the nose or eyebrows.
- Ellipse or custom shapes using the Knife or Boolean tools.
Place the shapes on the plane. Focus on symmetry and positioning. You can move objects using G, scale with S, and rotate with R.
Step 4: Use Collections to Organize Shapes
Create collections to group parts like:
- Eyes
- Mouth
- Face base
- Decorative shapes (hair, ears, etc.)
This makes it easier to manage your Blender file.
>>> Read more: How to Reduce Noise in Blender’s Cycles Render Engine
Step 5: Apply Flat Colors in Blender
- Go to the Shading workspace.
- Select a shape, click New in the Material tab.
- Use the Principled BSDF shader, and reduce Specular and Roughness to 0.
- Set a bold Base Color.
Repeat for each shape. Try to create contrast between warm and cool tones. Limit your palette to 4–5 colors for a clean look.
Step 6: Adjust Layout and Composition
Now check the overall look. Move shapes around until the face looks balanced. Try to:
- Align key elements (eyes, nose, mouth).
- Use negative space wisely.
- Create symmetry or intentional asymmetry.
You can also duplicate shapes and change their colors to add accessories like glasses or earrings.
Step 7: Lighting and Rendering in Blender
Use Area Lights or Point Lights with soft shadows. Avoid complex lighting. Keep it bright and flat to highlight the colors.
Set up your camera view again using Ctrl + Alt + 0. Adjust the position if needed.
For rendering:
- Go to Render Properties > choose Cycles or Eevee.
- Set resolution to 1920×1080.
- Press F12 to render.
- Save your image from the Image Editor.
Bonus Tips for Blender Artists
- Keep it minimal: Don’t add too many details.
- Play with color: Use color to express mood or character.
- Try different styles: Cartoon, abstract, or pop art.
- Use modifiers: Add a Subdivision Surface to round corners.
- Reuse shapes: Mirror objects for fast duplication.
Why Render on 3S Cloud Render Farm?
Even though this project is lightweight, Blender rendering can still be slow on older machines. 3S Cloud Render Farm speeds up your process. You just upload your .blend file, set your settings, and get the final render faster.
Our render farm supports:
- Blender Cycles and Eevee.
- High-resolution output.
- Fast processing with modern GPUs.
Perfect for designers who want to save time and focus on creativity.
3Cloud Render Farm provides high-performance servers optimized for rendering and complex graphics tasks. Equipped with powerful hardware, our servers enhance rendering speed and meet demanding project requirements. Specifications include:
- GPUs: 1/2/4/6/8 GPUs (T4, L4, A10G).
- CPUs: Intel Xeon Scalable (96-128 vCPUs).
- RAM: Up to 512GB for smooth multitasking.
- Storage: NVMe SSD up to 2TB for ultra-fast data access.
