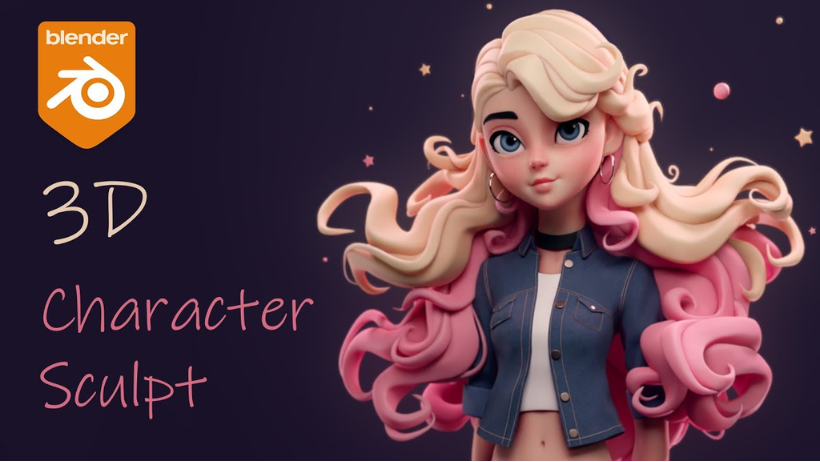
Creating Stylized Characters in Blender is a journey full of creativity, imagination, and technical finesse. At 3S Cloud Render Farm, we support thousands of artists who bring unique characters to life. In this post, I’ll walk you through my step-by-step process – from the first sketch to the final sculpt – to help you start creating your own stylized characters in Blender.
Step 1: Ideation and Sketching
Every great character starts with an idea. I begin by brainstorming the personality, style, and mood I want the character to express. This helps me decide on key features like facial structure, clothing, and posture.
Then, I draw a rough sketch. I keep it loose and energetic. I use simple shapes to block out the head, torso, limbs, and proportions. For stylized characters, exaggeration is important. I make the eyes larger or the limbs thinner than real life, depending on the emotion I want to evoke.

>>> Read more: Blender for Architects: How to Visualize Buildings in 3D
Step 2: Blocking Out the Form in Blender
Once my sketch is ready, I jump into Blender. I start with basic shapes – spheres, cubes, and cylinders. I use the mirror modifier to keep everything symmetrical in the beginning.
Using Blender’s sculpting tools, I block out the character’s form. This step is all about volume and silhouette. I don’t worry about the details yet. Instead, I focus on big shapes – the head’s roundness, the spine’s curve, or the stance of the legs.
Creating Stylized Characters in Blender often requires breaking realism. I check the silhouette from all angles to make sure it reads well even in grayscale.
Step 3: Sculpting the Features
Now comes the fun part – sculpting! I switch to Dynamic Topology (Dyntopo) to add more resolution where needed.
I begin with the face. Expressions are everything in stylized art. I push and pull the geometry to shape the eyes, nose, and mouth. For stylized characters, I usually keep the features simple but expressive.
Then, I work on the hands, clothes, and hair. Stylized hair, for instance, can be shaped like large swooping locks instead of individual strands.
Using tools like Clay Strips, Smooth, and Grab, I sculpt until everything looks cohesive. I often zoom out to compare the sculpt with the original sketch.
>>> Read more: Creating Stunning VFX in Blender: A Beginner’s Starter Pack
Step 4: Retopology and Cleanup
Sculpting creates dense and messy meshes. That’s why retopology is essential. I use Blender’s Retopology tools to recreate clean, low-poly geometry over the sculpt.
I make sure the topology follows the flow of muscles and facial expressions. This is especially important if the character will be animated later.
Next, I unwrap the UVs and organize the layout for texturing. Clean topology helps ensure better control during texturing and shading.
Step 5: Texturing and Shading
Once the model is ready, I move on to texturing. I paint base colors in Texture Paint mode. Then, I add shadows, highlights, and some stylized linework if needed.
Stylized shading doesn’t always aim for realism. I often use Toon Shaders or hand-painted textures to keep the look vibrant and artistic. Blender’s Shader Editor allows me to combine these effects creatively.
This is where the character’s personality really shines through.
Step 6: Lighting and Rendering
Good lighting makes a big difference. I set up three-point lighting to highlight the model. I also experiment with HDRIs and rim lights for added depth.
Then, it’s time to render. And here’s where the magic of 3S Cloud Render Farm steps in.
When working with detailed characters and high-resolution output, rendering can take a long time. That’s why I use 3S Cloud Render Farm – it speeds up the process significantly. I simply upload my Blender file, choose the settings, and let the cloud do the heavy lifting.
Whether I’m preparing still renders for a portfolio or a full animation, 3S helps me save hours and focus on creativity instead of waiting.
Step 7: Post-Processing
Finally, I import the rendered image into Blender’s Compositor or Photoshop. I tweak colors, add glow effects, and sharpen the image.
This last step brings polish to the work and gives me a chance to match the original concept’s mood even more closely.
Creating Stylized Characters in Blender is both a technical and artistic journey. From the initial sketch to the final render, each step matters. It’s not about making something realistic – it’s about making something memorable.
With the help of Blender and services like 3S Cloud Render Farm, you can streamline your workflow and bring your stylized characters to life faster than ever.
So go ahead – pick up that sketchbook, fire up Blender, and start sculpting!
About 3S Cloud Render Farm
3S Cloud Render Farm is a high-performance rendering solution trusted by 3D artists and studios around the world. With support for Blender, Cycles, Eevee, and more, 3S makes rendering easy, fast, and affordable. Try it out and boost your creative workflow today.
