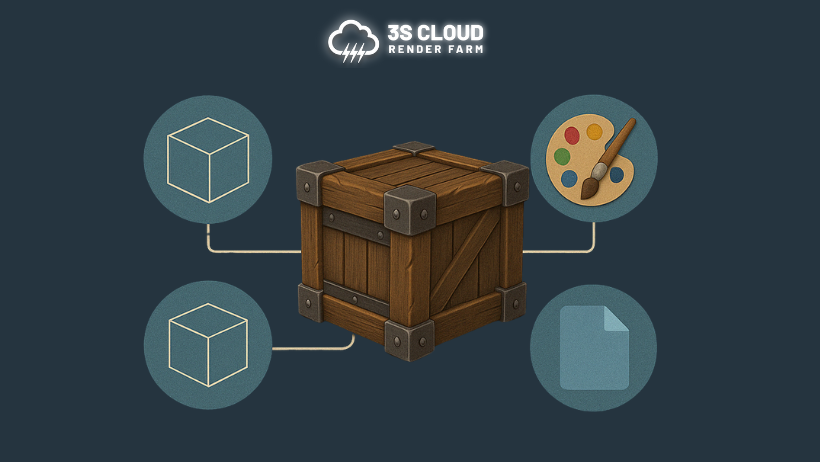
Creating a game-ready asset in Blender is a valuable skill for 3D artists, game developers, and hobbyists alike. Whether you’re making props for a mobile game or assets for a AAA title, the process needs to be optimized, clean, and efficient. In this blog, we’ll guide you step-by-step through the entire pipeline: from modeling, UV unwrapping, baking, texturing, to exporting a ready asset in Blender for real-time engines like Unity or Unreal.
Step 1: Planning the Asset
Before opening Blender, define your asset’s purpose. Will it be static or animated? Is it for mobile or PC? Lower-end platforms need fewer polygons. High-end systems can handle more detail.
Create a mood board. Gather references. Understand the scale and style of the game world. Planning prevents wasted time and ensures your ready asset in Blender fits smoothly into the project.
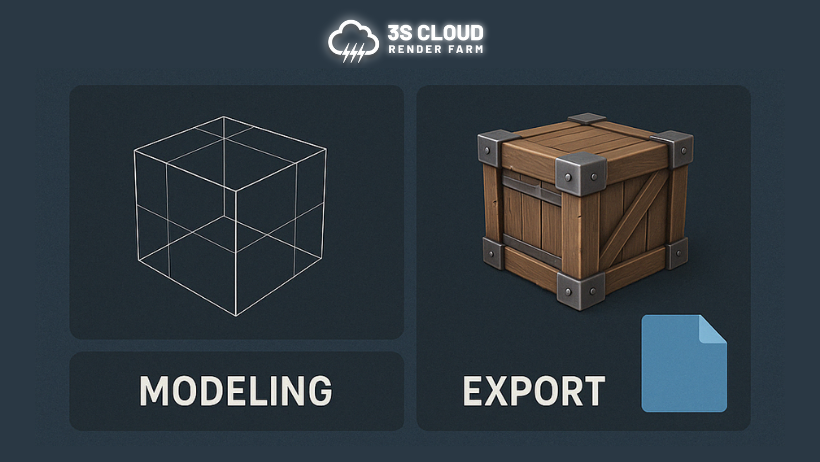
Step 2: Modeling
Start with simple shapes. Use modifiers like Mirror, Subdivision Surface, and Boolean to speed up modeling. Keep your mesh clean. Avoid N-gons and unnecessary triangles. Use quads when possible.
Model the high-poly version first if you plan to bake details. Then create a low-poly version. The low-poly mesh is what you’ll eventually use in-game. Name your objects clearly. Organization helps a lot later.
>>> Read more: From Sketch to Sculpt: How I Create Stylized Characters in Blender
Step 3: UV Unwrapping
A clean UV map is essential for proper texturing. Mark seams manually for better control. Use Blender’s Smart UV Project for quick unwraps on complex shapes.
Pack UV islands efficiently. Leave padding between them. Keep the scale consistent. This ensures that the texture quality is uniform across the asset.
Step 4: Baking High to Low
With your high-poly and low-poly meshes ready, it’s time to bake. This means transferring surface detail (like scratches or panel lines) from the high to the low-poly version.
Go to the Shader Editor. Use the Image Texture node for the target texture (e.g., Normal map). Set up your Bake settings in the Render tab. Bake each map: normal, ambient occlusion, curvature, etc.
Save the baked maps as PNG or TGA. These maps will be used in the texturing process.
>>> Read more: Blender for Architects: How to Visualize Buildings in 3D
Step 5: Texturing with Substance Painter or Blender
You can texture directly in Blender using its node-based material editor. However, tools like Substance Painter provide more control and realism.
Import the low-poly model and baked maps. Apply layers of color, roughness, and metallic details. Use smart masks for wear and tear. Export the final texture maps.
Back in Blender, connect the exported maps to your Principled BSDF shader. Use Base Color, Normal, Roughness, and Metallic inputs.
Step 6: Final Optimization
Check your mesh for non-manifold geometry. Remove hidden faces. Make sure the pivot point is correct and the model is centered.
Apply all transformations (Ctrl + A > All Transforms). Remove unused materials and data blocks. This keeps the file light and clean.
Make sure your ready asset in Blender meets the game engine’s scale. For Unity, 1 unit = 1 meter. For Unreal, it’s the same.
Step 7: Exporting to Game Engine
To export a ready asset in Blender, use the FBX format. It is widely supported by Unity and Unreal. In the export settings:
- Set scale to 1.0
- Apply transform
- Check “Selected Objects” only
- Include mesh and animation (if any)
Alternatively, use glTF (.glb) for lightweight and modern workflows. It supports PBR materials out of the box.
Import the asset into your engine. Check for errors. If it looks wrong, go back and fix the UVs or normals.
Bonus: Rendering for Portfolio
Even if the asset is game-ready, it’s nice to have beauty renders. Set up a three-point lighting system. Use Blender’s Cycles or Eevee engine.
Add a simple HDRI for reflections. Use depth of field and camera angles to make your asset stand out.
Final Thoughts
Creating a ready asset in Blender requires technical skill and artistic vision. Each step — from modeling to export — plays a role in ensuring that your asset works seamlessly in a game environment.
3Cloud Render Farm provides high-performance servers optimized for rendering and complex graphics tasks. Equipped with powerful hardware, our servers enhance rendering speed and meet demanding project requirements. Specifications include:
- GPUs: 1/2/4/6/8 GPUs (T4, L4, A10G).
- CPUs: Intel Xeon Scalable (96-128 vCPUs).
- RAM: Up to 512GB for smooth multitasking.
- Storage: NVMe SSD up to 2TB for ultra-fast data access.