In today’s fast-paced design industry, 3D visualization has become a must-have skill for modern architects. Blender, a powerful and open-source 3D software, offers architects an incredible platform to bring their ideas to life. Whether you’re designing residential homes or large commercial complexes, Blender gives you the flexibility and tools to create stunning architectural renderings. However, to make the most of this software, using a Blender Render Farm can drastically improve your workflow.
Why Architects Should Use Blender
First of all, Blender is free and highly versatile. It comes with features such as modeling, sculpting, UV mapping, shading, lighting, animation, and rendering—all in one platform. Unlike many expensive architectural tools, Blender provides professional-level quality without a hefty price tag.
Moreover, Blender’s community is vast, offering thousands of free resources and tutorials. This makes it easier for architects to learn, experiment, and grow. Still, while Blender is powerful, rendering high-quality 3D images can take hours or even days on a standard PC. This is where a Blender Render Farm becomes essential.
>>> Read more: Top 10 Mistakes Blender Artists Make (and How to Fix Them)
Step-by-Step Guide to Visualizing Buildings in Blender
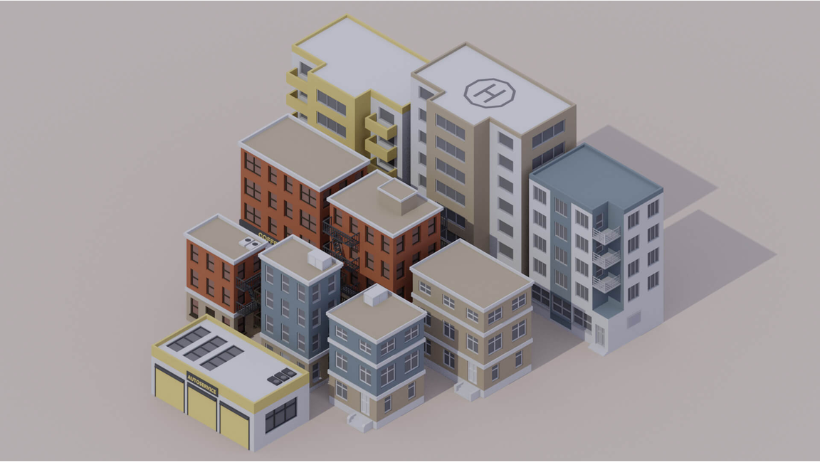
1. Create the Architectural Model
Begin by sketching your building in Blender’s modeling environment. You can use blueprints or floor plans as references to maintain scale and proportion. Blender’s modifiers, like the Mirror or Array modifier, can save you time and effort.
2. Add Textures and Materials
Next, assign materials and textures to your model. Blender’s node-based shading system allows you to add realistic surface finishes like glass, concrete, wood, and metal. For best results, use high-resolution textures and pay attention to detail.
3. Set Up Lighting and Environment
Lighting plays a critical role in architectural visualization. Use HDRI images for realistic environment lighting. Additionally, try using sun and area lights to create natural shadows and depth.
4. Camera Angles and Composition
Then, frame your scene using multiple cameras. Wide-angle shots work well for interiors, while aerial views showcase the full building structure. Good composition is key to making your visualization visually compelling.
5. Render the Scene
Finally, render your scene. However, rendering can be time-consuming, especially for animations or photorealistic stills. Instead of overloading your computer, offload the job to a Blender Render Farm. This will save time and increase productivity.
The Importance of Using a Blender Render Farm
Even though Blender is efficient, rendering complex scenes locally can be frustrating. Your PC may become sluggish, and your productivity may drop. Thankfully, a Blender Render Farm solves this by distributing the render task across multiple powerful servers. As a result, you get faster output without compromising quality.
In addition, using a Blender Render Farm ensures consistent rendering with fewer errors. This is especially important when working with tight client deadlines or large-scale projects.
Furthermore, Blender Render Farms often support popular render engines like Cycles and Eevee, ensuring compatibility with your project settings. That’s why many professionals rely on them to meet their rendering needs.
>>> Read more: Blender’s Geometry Nodes: A Revolution in Procedural Modeling
Why Choose 3S Cloud Render Farm
If you’re looking for a reliable and high-performance Blender Render Farm, look no further than 3S Cloud Render Farm. Not only does it offer powerful rendering capabilities, but it also provides a user-friendly interface, fast processing, and 24/7 support.
Additionally, 3S Cloud Render Farm supports both CPU and GPU rendering, giving you flexibility for different project requirements. Whether you’re visualizing a skyscraper or a cozy cottage, 3S Cloud delivers speed and precision.
Most importantly, 3S Cloud Render Farm is optimized for Blender users. With seamless integration and pay-as-you-go pricing, it’s the perfect solution for architects aiming to streamline their rendering workflow.